
DIY: How to Build a Terrarium


1. A layer of course sand, pebbles, or stones (like I used above)
2. Activated charcoal (thin layer)
3. Add a layer of sphagnum moss
4. Add soil. If using cactus, get cactus potting soil which can be mixed with regular potting soil.
6. Add plants or seeds. Be creative, switch them around until it looks like the perfect little paradise!

Terrariums are so fun to make and they are the perfect gift for just about anyone! It's also a great activity to do with kids or even your mom ;) Have a great Wednesday!
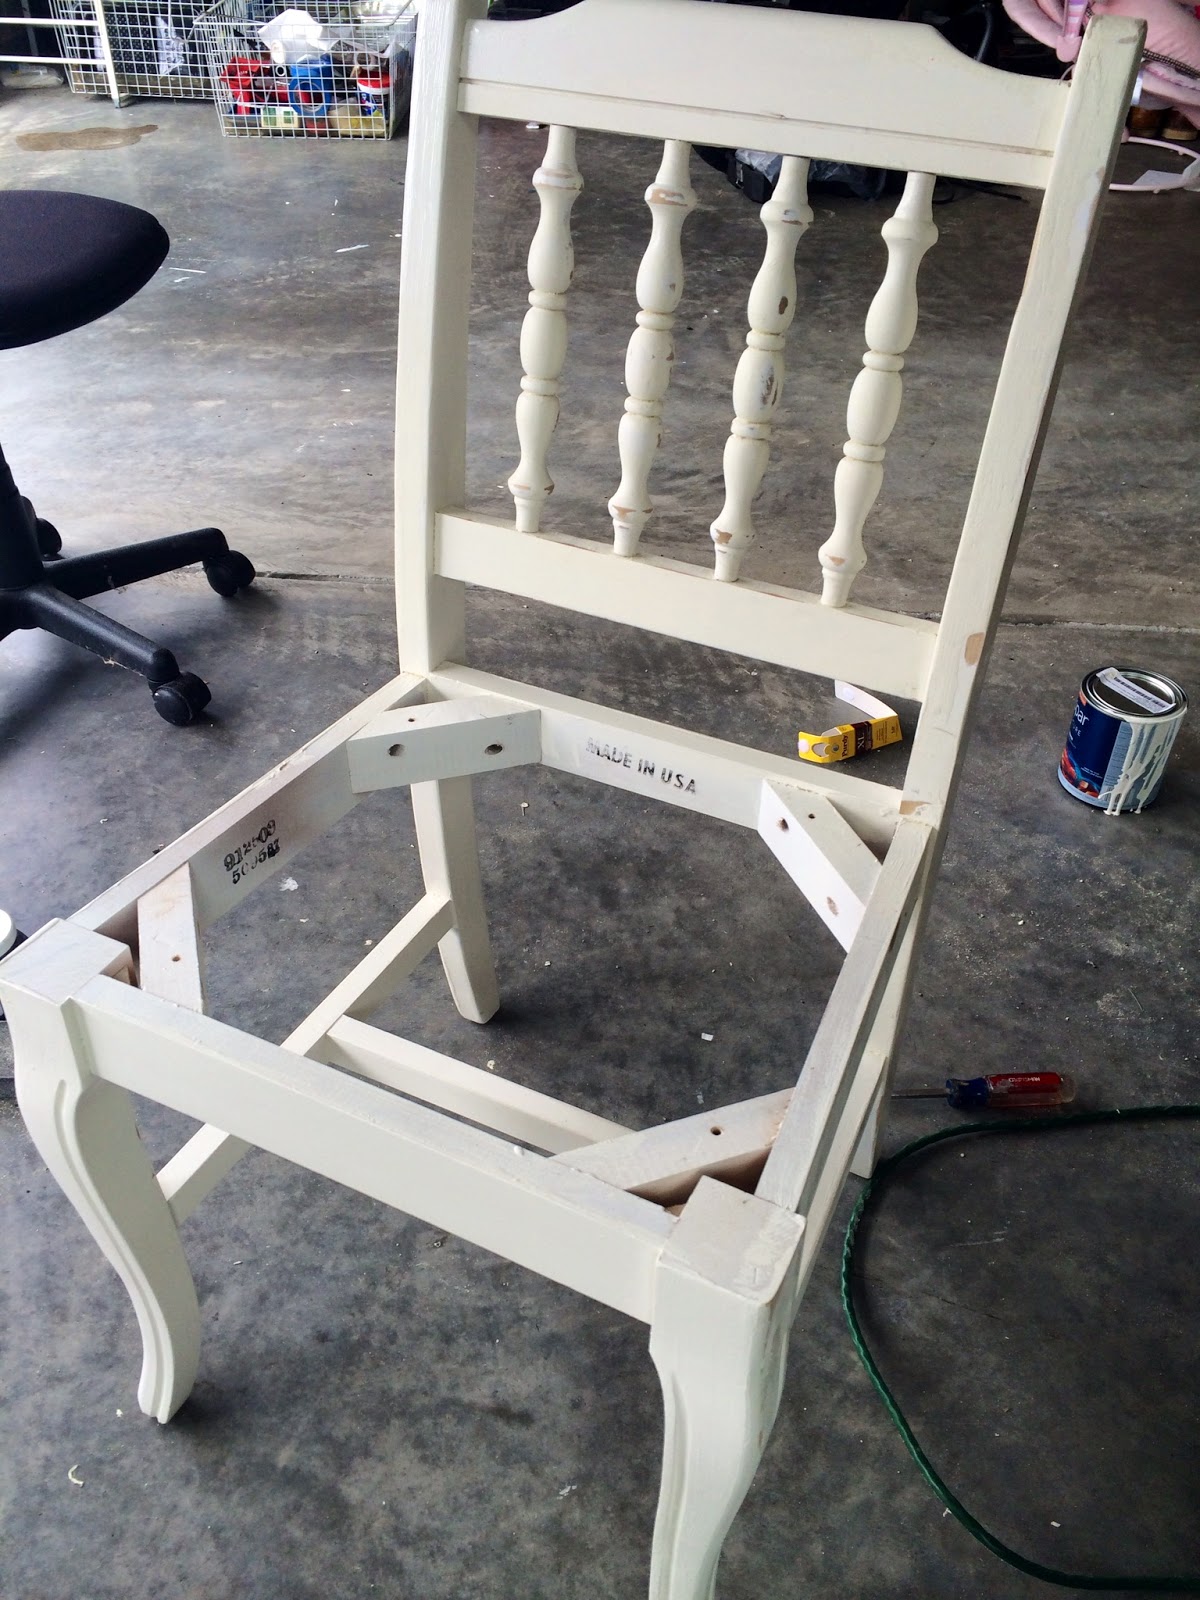
DIY: Up-cycling with Annie Sloan Chalk Paint

This old armoire was given to me, its a really nice piece of furniture (other than the stain I can't stand) I've converted it into a liquor cabinet and a place to store large appliances for the kitchen. There are two drawers below, one of which I use for storing grilling devices and the other I use for place mats, table cloths, and plastic utensils. It's in our morning room off the kitchen near our kitchen table.
Here's what you need to get this look:

From left to right: Sand paper, paint brushes (thin bristles), Sander Deglosser, Annie Sloan Chalk Paint (graphite), Annie Sloan Soft Wax (dark), Rust-Oleum Metallic (Satin Nickel)
1. Clean furniture with warm rag to remove any dust that may be lingering.
2. Remove hardware
3. Sand off any rough edges or uneven surfaces.
4. Use Sander Deglosser on the entire piece of furniture with clean rag. Be generous, and really scrub to remove dirt. Dries pretty fast.
5. Once the piece of furniture is clean, sanded and dried, coat the furniture with the Annie Sloan Chalk Paint. If you want your color to be darker, use 2 coats. I always use 2 coats! I like using a small, medium, and large paint brush. Use the small brush when painting in intricate spaces and the large when painting large flat areas.
6. Spray paint hardware with Rust-Oleum Metallic (Satin Nickel)
7. Once furniture is completely dry (I usually let set 24 hrs) apply the Annie Sloan soft wax with cheese cloth or either a rag that doesn't shed, in small areas with small amounts of wax. You want to use circular motions and literally keep rubbing until wax is off the furniture. This basically is just a "stain" you put on top of the chalk. It makes the surface smooth and shiny. The dark wax enhances the color of the graphite too.
8. Put the hardware back on & ENJOY ;)


New Fabric + Staple Gun = NEW cushion
To remove cushion, there are four screws underneath seat.

Use a hand sander on intricate areas.

Electric sander on large surfaces or the hand sander is fine too.

Wipe off all access debris from sanding with warm cloth. Let dry.

You can really see how yellow it had gotten in this picture! Use a roller for the large flat surfaces.

I used a 1" Purdy brush designed for all paints.

Sand off any paint runs--no one is perfect ;)

I decided to spray these knobs because it was a hard width to find and I didn't want to drill new holes.

The old pulls, repainted silver!

& the new one's from Hobby Lobby

Replace cushion.

The newly updated desk!
I used Valspar, Chef White in semigloss. I bought the knobs from Hobby Lobby (check for 50% off sales on knobs) they always have such a large variety & when they're 50% off I tend to go a little crazy! (Side note: You can place an order for as many knobs as you'd like while they are 50% off and they will still honor the sale) I'm sort of "knob obsessed" because they're an instant update to any old cabinetry and the knobs are ridiculously cute!


No comments:
Post a Comment